Starbucks Cake Pops: 7 Irresistible Steps for the Perfect DIY Treat!

Are you a fan of Starbucks and love sweet treats? You can make your own Starbucks-inspired cake pops at home! This guide will show you how to make these tasty treats, from the cake base to decorating. You’ll impress everyone with your homemade cake pops, save money, and satisfy your sweet tooth.
Understanding Starbucks Cake Pops: A Sweet Introduction
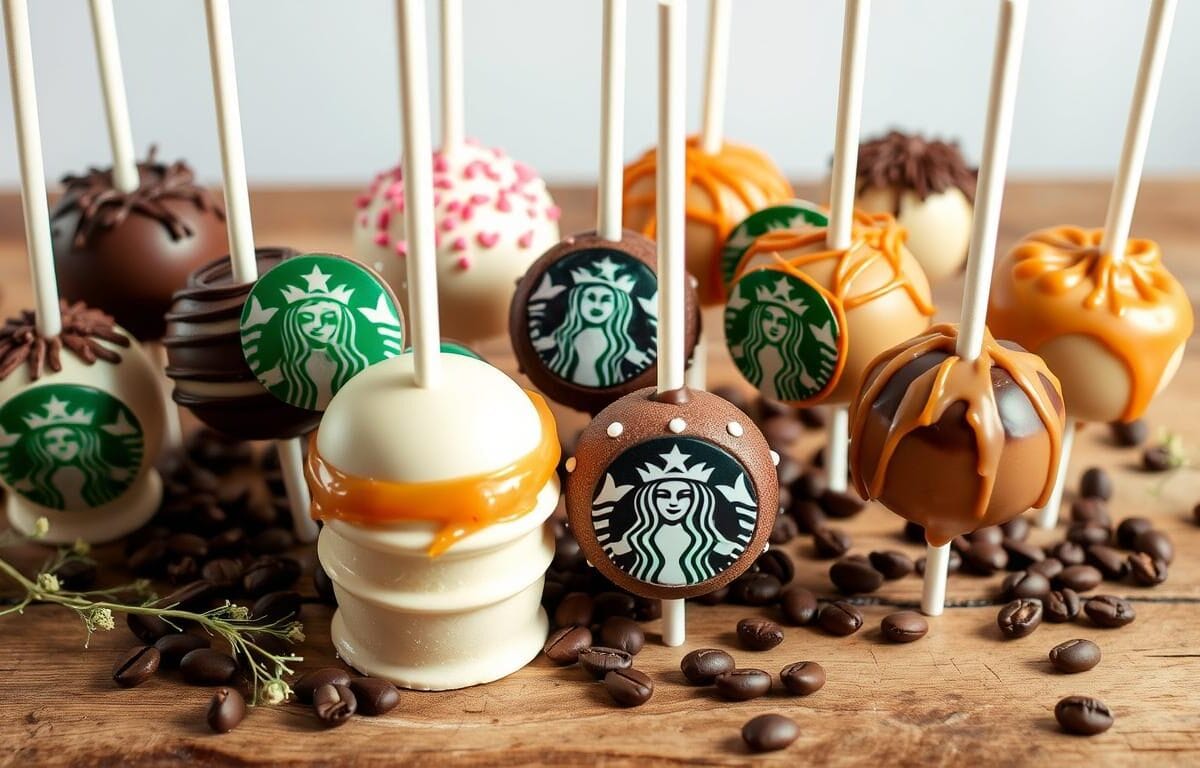
Starbucks cake pops have won hearts worldwide. They appeal to coffee fans and dessert lovers. But, have you ever thought about where they came from? Let’s explore the history of Starbucks’ cake pops and why making them at home is great.
The History Behind Starbucks’ Popular Treat
Starbucks cake pops started in the early 2000s. They were a hit as a portable treat for customers. Turning cake into small, easy-to-eat treats was a smart move.
This move helped Starbucks offer more than just coffee. They added a sweet treat to their menu. This was a smart choice, as cake pops were becoming popular for their unique taste and looks.
Why Make Them at Home?
Making Starbucks cake pops at home has many benefits. One big advantage is saving money. Homemade cake pops are cheaper than buying them.
At home, you can choose your flavors and decorations. You can make everything from classic chocolate to special seasonal flavors. Plus, you know the ingredients are fresh and of high quality.
Essential Ingredients for Perfect Cake Pops
Making cake pops at home needs the right ingredients. You’ll need the best cake mix and the smoothest frosting. Each part is key to getting that Starbucks taste and feel. Let’s look at what you need to make your own tasty cake pop treats.
The Cake Foundation
A moist, tasty cake is the base of a great cake pop. You can bake a cake from scratch or use a good cake mix. Choose a cake mix made for cake pops for a denser cake that’s easier to shape and dip.
Creamy Frosting
A smooth, rich frosting holds your cake pops together. You can use buttercream or cream cheese frosting. Pick a frosting that’s strong enough to stick the cake crumbs together without being too thick.
Dipping Delights
To get that shiny, coated look like Starbucks cake pops, use candy melts or good chocolate. These melt well and harden fast, giving your cake pops a pro finish. Try different colors and flavors to make your cake pops unique.
Flavorful Finishes
While the cake and frosting are the basics, you can add more flavors and textures. Add vanilla extract, spices like cinnamon or nutmeg, or chopped nuts or sprinkles for a fun crunch.
| Ingredient | Importance | Recommended Brands |
|---|---|---|
| Cake Mix | Provides the foundation for the cake pop | Duncan Hines, Betty Crocker, Pillsbury |
| Frosting | Binds the cake crumbs and adds moisture | Wilton, Cream Cheese Frosting, Buttercream |
| Candy Melts | Creates the signature glossy, coated finish | Ghirardelli, Wilton, Guittard |
| Flavorings | Enhances the overall taste and experience | Vanilla extract, spices, nuts, sprinkles |
With these key ingredients, you’re ready to make delicious cake pops like Starbucks. Use top-notch products for the best taste. Don’t hesitate to try new flavors to create your own special cake pop recipe.
You Might Also Like:
- The 1 Best Baker’s German Chocolate Cake Recipe You Need to Try
- Top 5 Irresistible Almond Flour Cake Recipes for a Healthy Treat
- Starbucks Cake Pops: 7 Irresistible Steps for the Perfect DIY Treat!
Required Kitchen Tools and Equipment
Making tasty cake pops at home needs a few key tools. You’ll need basic items and some extra gear for top-notch results. Let’s look at the essential tools that will make making cake pops easy.
Basic Tools Every Baker Needs
- A cake pop maker or baking tray to shape the cake balls
- Cake pop sticks or lollipop sticks to hold the pops
- A melting pot or double boiler for melting coatings
- Parchment paper or a silicone mat for easy cleanup
- Measuring cups and spoons for exact ingredients
- A strong mixing bowl and whisk or electric mixer for cake batter
Optional Equipment for Professional Results
For even better cake pops, consider these extra tools:
- A cake pop stand or display to show off your work
- Decorative cake pop sticks or lollipop sticks for a special look
- Cake pop maker attachments for various shapes and sizes
- A melting pot with temperature control for precise coating
- Piping bags and tips for detailed decorations and drizzles
Decorating Tools and Supplies
No cake pop is complete without some creativity. Get decorating essentials like sprinkles, mini chocolate chips, crushed candies, and edible glitter. They’ll make your cake pops pop.
How Much Are Starbucks Cake Pops: Price Comparison
Deciding between store-bought Starbucks cake pops and making your own can be tough. Let’s look at the price differences to help you choose.
A Starbucks cake pop costs between $1.95 and $2.45, depending on where you buy it and the flavor. These treats are convenient but can get expensive if you love them a lot.
Making cake pops at home is cheaper. You’ll need cake mix, frosting, and coating. Making 20-24 cake pops can cost between $5 and $10, depending on the ingredients.
| Item | Starbucks Cake Pop | Homemade Cake Pop |
|---|---|---|
| Price per Piece | $1.95 – $2.45 | $0.21 – $0.50 |
| Batch of 20-24 Pops | $39 – $49 | $5 – $10 |
Looking at the prices, making your own cake pops is a big money-saver. It also lets you customize them to your liking. Whether you want a special treat or something more affordable, the choice is yours.
Preparing the Perfect Cake Base
Making the perfect cake base is key for tasty cake pops. Whether you’re new to baking or experienced, choosing the right cake and baking it well is important. It helps get the right texture and flavor for your cake pops.
Choosing the Right Cake Flavor
There are many flavors for cake pops. You can go for classic vanilla or rich chocolate. The best cake flavors for cake pops match your taste and look. Try unique flavors like red velvet, carrot, or lemon for something different.
Baking Tips for Optimal Texture
The cake’s texture is vital for great moist cake for cake pops. Follow the baking instructions closely. Watch the ingredients, oven temperature, and baking time. Wrong timing can make the cake dry or too dense.
Getting it just right makes the cake light and fluffy. This is important for cake pops to turn out right.
Creating the Cake Pop Mixture
Making the perfect cake pop consistency is key to delicious Starbucks-inspired cake pops at home. Mixing cake and frosting just right is a crucial step.
Start by crumbling the baked cake into fine pieces. This makes sure the cake is evenly spread in the mix. Then, add the frosting slowly, mixing gently until you get the right cake pop consistency.
The ideal mix is like thick, creamy peanut butter. It should be smooth and easy to shape, but not too wet or sticky. Getting this balance right is key for that Starbucks look.
- Crumble the baked cake into fine, uniform pieces.
- Gradually fold in the frosting, mixing until the desired cake pop consistency is reached.
- The ideal consistency should be smooth, creamy, and pliable, but not overly wet or sticky.
“The key to perfect cake pops is in the mixing of cake and frosting – it’s all about finding that sweet spot for the right consistency.”
The cake pop consistency can change based on the cake, frosting, and environment. Adjust the cake to frosting ratio until it’s just right. With practice, you’ll make Starbucks-style cake pops in no time.
Shaping and Rolling Techniques
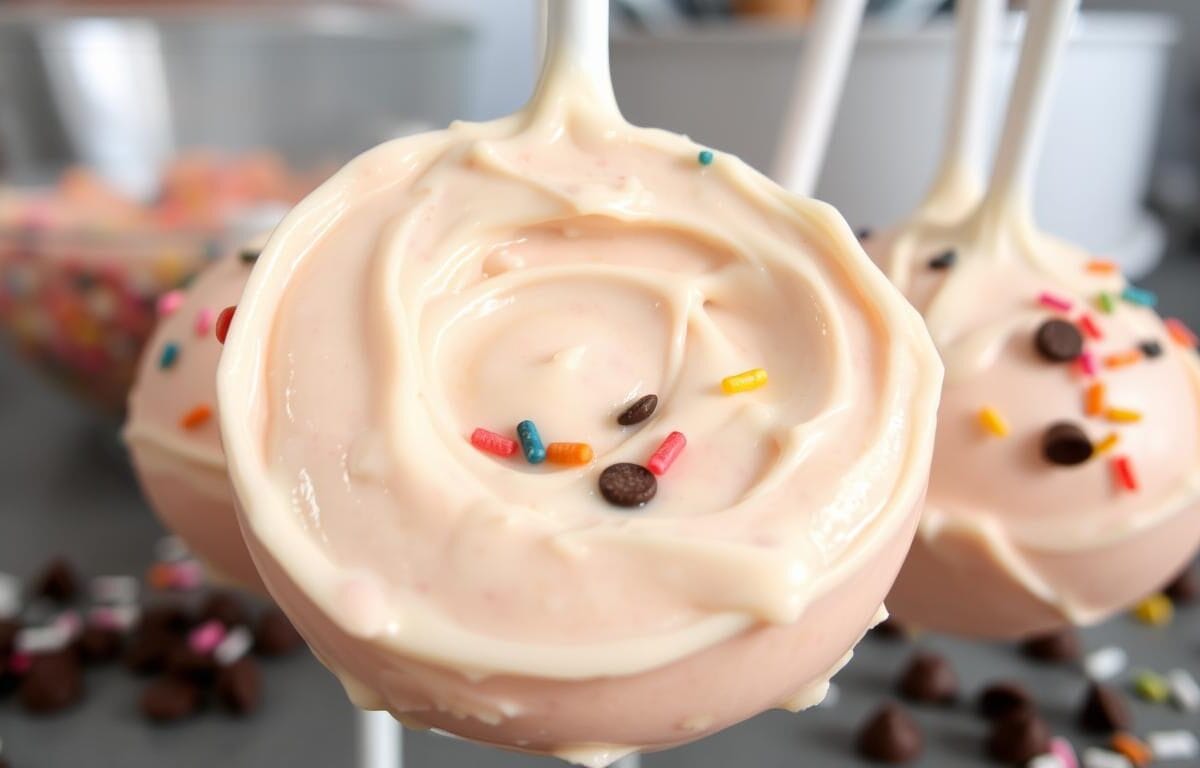
Making perfect Starbucks-inspired cake pops is all about shaping and rolling. To get the right size, follow these key steps:
Size Guide for Authentic Results
To match Starbucks’ cake pops, keep your size consistent. Aim for 1-1.5 inches in diameter. This size gives you a treat that’s just right, with cake and coating in perfect balance. Use a small cookie scoop or melon baller to portion the cake mix for uniform sizes.
Troubleshooting Common Shaping Issues
- Sticky Mixture: If your mix is too soft or sticky, chill it in the fridge for 30 minutes. This makes it easier to shape.
- Cracked Surfaces: For a smooth finish, roll the cake pops gently between your palms. Apply light pressure to fix any cracks or seams.
- Irregular Shapes: For perfect shapes, use a cake pop mold or silicone mold. They help you get a professional look.
With these shaping and rolling tips, you’ll soon be making Starbucks-quality cake pops at home.
Coating and Decorating Methods
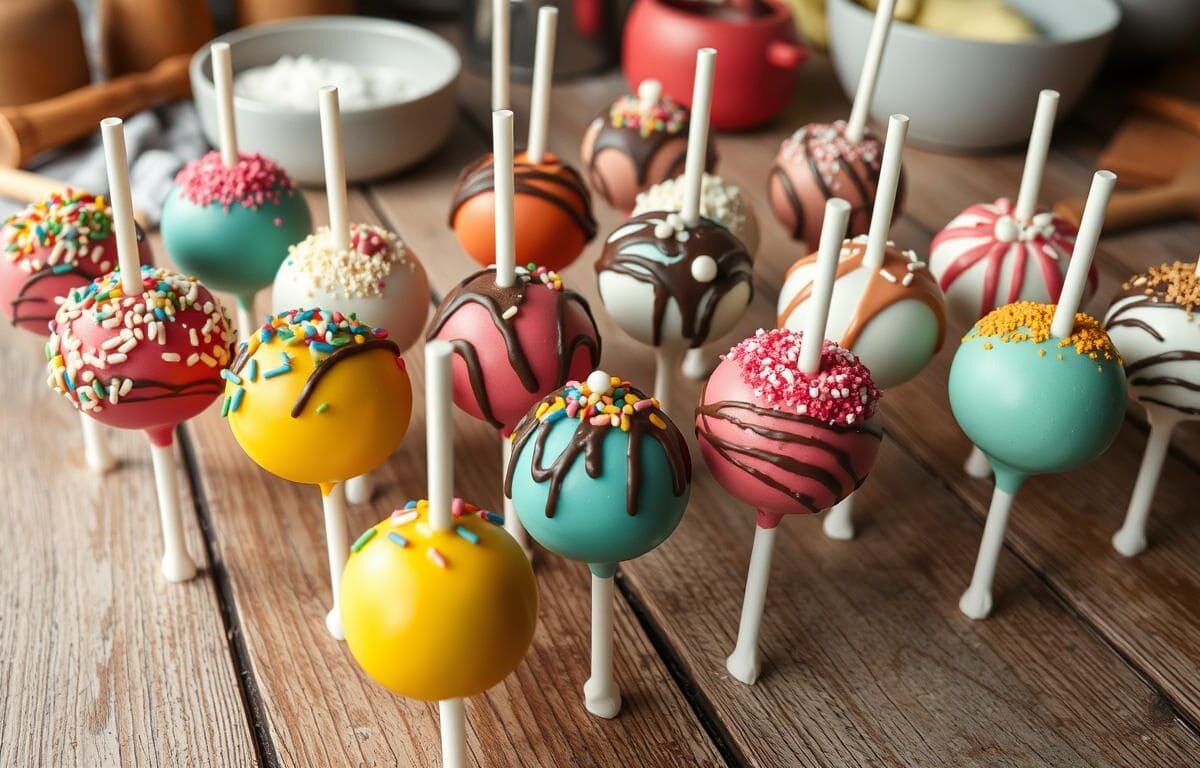
Turning your homemade cake pops into a Starbucks-inspired treat is all about the coating and decorating. Learning the right cake pop coating and cake pop decorating techniques can make a big difference. It can turn a simple dessert into a stunning visual treat.
Coating Techniques
The secret to a perfectly coated cake pop is in the coating’s temperature and consistency. Whether you use candy melts or high-quality chocolate, the right method is key. Start by melting your coating in a double boiler or microwave, stirring often to keep it smooth.
- Dip each cake pop into the melted coating, letting any extra drip off before placing it on a lined baking sheet.
- For a smooth, even coat, use a spoon to swirl and cover the cake pop’s surface.
- If your coating gets too thick, add a bit of vegetable oil or shortening to thin it out.
Decorating Inspiration
There are countless ways to decorate your cake pops. You can draw inspiration from Starbucks designs or add your own unique touches. Here are a few ideas to get you started:
- Sprinkle colorful sanding sugar or sprinkles over the coated cake pops for a festive look.
- Drizzle melted chocolate or colored candy coating in patterns for a professional finish.
- Attach mini marshmallows, chocolate chips, or small candies for whimsical designs.
- Use a toothpick or decorating pen to add details like polka dots, stripes, or swirls.
| Coating Technique | Decorating Idea |
|---|---|
| Candy Melts | Sprinkle with crushed Oreos or graham cracker crumbs |
| Tempered Chocolate | Drizzle with white chocolate and top with edible glitter |
| Colored Candy Coating | Attach small candies like M&M’s or Skittles |
Try out different cake pop coating techniques and cake pop decorating ideas to find what works best for you. This way, you can create cake pops that reflect your style and satisfy your sweet cravings.
Storage and Shelf Life Tips
Keeping your homemade Starbucks-inspired cake pops fresh is key. Whether you’re enjoying them now or saving them for later, knowing how to store them is crucial. This ensures they stay delicious.
Proper Storage Techniques
Storing your cake pops right is essential. Here’s what to do:
- Put them in an airtight container or resealable plastic bag at room temperature. Keep them away from sunlight or heat.
- Place the cake pops in a single layer to avoid sticking.
- Line the bottom of the container with a paper towel to soak up moisture.
- Don’t stack the cake pops to prevent them from getting misshapen.
Freezing and Thawing Guidelines
Freezing is a great way to store cake pops for longer. Here’s how:
- Freeze the cake pops on a baking sheet or in a single layer in an airtight container for up to 3 months.
- Move the frozen cake pops to the fridge to thaw overnight.
- After thawing, let them come to room temperature before serving for the best taste and texture.
By using these how to store cake pops and cake pop shelf life tips, your homemade treats will stay fresh and tasty. Enjoy them now or save them for later.
Common Mistakes to Avoid
When making Starbucks-inspired cake pops, a few common mistakes can happen. These include crumbly cake bases and messy coating techniques. Knowing these issues helps you get perfect results every time.
One big mistake is overworking the cake mixture. This makes it dense and dry. To fix this, mix the cake and frosting gently and avoid over-mixing. Also, getting the right cake-to-frosting ratio is key for a moist cake pop.
Keeping the right temperature when coating is also crucial. If the chocolate or candy melts are too hot, the cake pops can crack or get misshapen. On the other hand, if they’re too cool, the coating won’t stick right. So, it’s important to watch the temperature and adjust it to get a smooth finish.
FAQ
What is the history behind Starbucks cake pops?
Starbucks cake pops started in the early 2000s. They were made from leftover cake to create a tasty snack. Now, they’re a favorite treat.
Why should I make Starbucks-inspired cake pops at home?
Making cake pops at home saves money and lets you pick your flavors. You get to enjoy a delicious treat without the high cost.
What ingredients do I need to make perfect cake pops?
You’ll need a good cake mix, creamy frosting, and candy melts or chocolate. You can also add flavorings or decorations for extra taste.
What kitchen tools and equipment are required for making cake pops?
You’ll need a mixing bowl, hand mixer, and a cake pop maker or baking sheet. Cake pop sticks are also essential. You can use a melting pot or decorating tools for better looks.
How much do Starbucks cake pops cost compared to homemade?
Starbucks cake pops cost between $2.50 and $3.50 each. Making them at home can save you a lot of money, with ingredients costing less than $1 per pop.
How do I prepare the perfect cake base for cake pops?
Pick a moist, flavorful cake mix and bake it right. This ensures your cake pop base is perfect.
How do I create the ideal cake pop mixture?
Mix crumbled cake with the right amount of frosting. The mix should be smooth and easy to shape, but not too dry or wet.
What are the best techniques for shaping and rolling cake pops?
Use a portion scoop for uniform size. Troubleshoot issues like cracking or misshapen pops to get the right look.
How do I coat and decorate my cake pops?
Coat them in melted candy melts or chocolate for a smooth finish. You can decorate with simple sprinkles or intricate designs.
How should I store and preserve my homemade cake pops?
Store them in the fridge or freezer to keep them fresh. Follow storage and thawing tips to enjoy them longer.
What common mistakes should I avoid when making cake pops?
Avoid over-mixing, improper coating, and shaping issues. Knowing how to fix these problems ensures your cake pops turn out great.


